This page is intended to explain some of the basics of the underlying system of the world of Terraria.
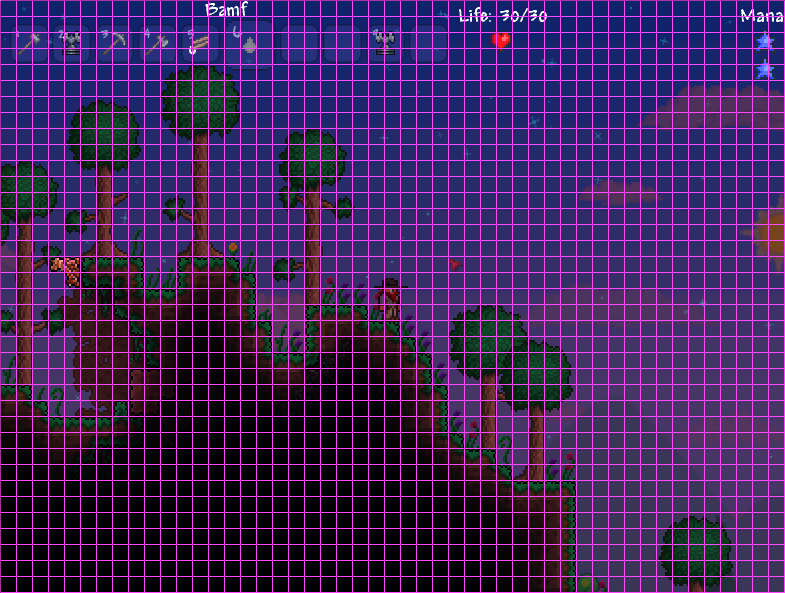
Terraria uses two different grid systems to describe the positions of things. Both are anchored from the top-left of the world, starting at 0,0. X increases as it moves to the right, Y increases as it moves down.
The tile grid is what it used to give tile placement. The tile grid squares are 16x16 pixels.
Tile grid
Any given tile is referred to by Main.tile[x, y] , where x and y are the coordinates on the tile grid.
The right boundary of the tile world is defined by Main.maxTilesX, and the bottom by Main.maxTilesY (with the left and top boundaries being 0).
The various layers are described by:
~100 - Space
Main.worldSurface - the boundary line between the Surface and Underground
Main.rockLayer - Approximately a screenheight from the boundary between Underground and Cavern
Underworld/Hell - Approximately 2 * rockLayer
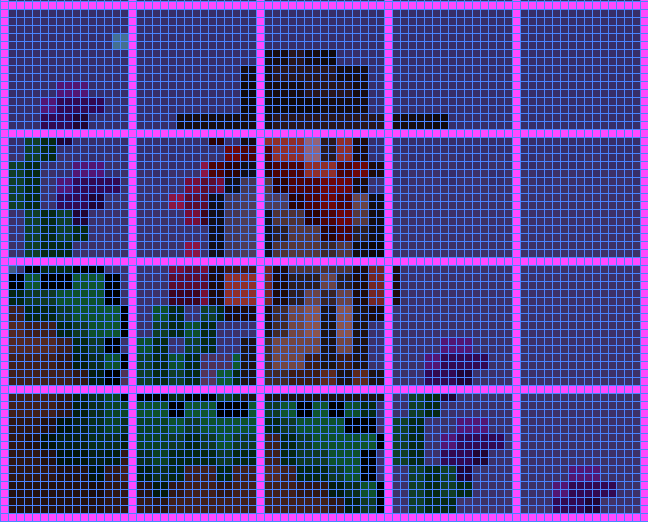
The player's position uses the pixel grid.
Pixel Grid
There are 16 pixel grid squares per tile square.
Player position, mouse position, velocity, and most other characteristics use the pixel grid.
Main.player[Main.myPlayer].position.X , Main.player[Main.myPlayer].position.Y give the player's absolute position.
Main.mouseX and Main.mouseY give the mouse position relative to the screen. That is, if the mouse cursor is on the top-left corner of the screen, it would be at 0,0
Main.screenPosition.X and Main.screenPosition.Y give the coordinates of the top-left corner of the screen. In order to get the absolute mouse position, you would use (Main.mouseX + Main.screenPosition.X) and (Main.mouseY + Main.screenPosition.Y)
To convert from the tile grid to pixel grid, divide by 16, and make sure you convert to integers. So to get that mouse position in terms of the tile grid, you would use
(int)(((float)Main.mouseX + Main.screenPosition.X) / 16f) , (int)(((float)Main.mouseY + Main.screenPosition.Y) / 16f)
The pixel world boundaries can be referred to in code by:
Main.leftWorld
Main.rightWorld
Main.topWorld
Main.bottomWorld
To find a tile's position on the pixel grid, multiply by sixteen. So the tile given by Main.tile[x,y] would be located on the pixel grid at x*16 , y*16
Velocity is given by pixels per tick, with 30 ticks per second. A velocity of 1 would thus be 30 pixels per second, or about two tile squares per second. Positive x-velocity means moving right, negative means moving left. Negative y-velocity means moving up, positive y-velocity means falling.
Player interfaces refer to distances in feet. 16 pixels = 1 tile = 2 feet
if(Main.time%60 == 0)
{
      // this code will happen every 1 second in the game.
}
The player's appearance and position on screen is defined by it's frame. The player's frame is generally a box 40 pixels wide and 56 pixels tall. The player's position is given as the top left corner of this frame. Note that this is regardless of the player's direction- for both of these sprites, the position is given by the bright green pixel.

Player frame size
Tile Sprites[]


Tile template created by Hedgen
If you look at a tile sheet, it has three variations on every piece- 3 top left corners, 3 top right corners, etc. The first five lines are the base, the rest of the sheet is for blending with dirt. The variations are automatically placed at random, and if you hit a tile and don't destroy it (setting a tool to -1 in the ini guarantees this) makes it switch to another variation.
It may be possible to use Main.tile[x,y]frameNumber (0,1,2) to select which variation is used, and that trees do that for whatever reason.
bool Main.tile[x,y].active is used to denote whether a grid space has a tile on it.
Tile null = nothing, no wall. If you check a null tile for type or active, you tend to crash.
Tile active = false, type = 0 nothing, could have a wall
Tile active = true, type = 0 dirt
How do I refer to custom...[]
Projectile: Config.projDefs.byName["Projectile Name"].type;
NPC: Config.npcDefs.byName["NPCName"].type
Tile: Config.tileDefs.ID["TileName"]
Wall: Config.wallDefs.ID["WallName"]
Item: Config.itemDefs.byName["itemName"].type
Gore: Config.goreID["goreName"]
Main Info: http://tconfig.wikia.com/wiki/How_to_be_Self-Sufficient#How_to_find_a_custom_types
Player Physics (rough)[]
Player physics:
jumpHeight = 15
jumpSpeed = 5.01f
w/ jumpBoost
jumpHeight = 20
jumpSpeed=6.51f
in water
jumpHeight = 30
werewolf
jumpHeight+=2
jumpSpeed +=0.2f
fall height= (tile grid) end position - fallStart position
damage = (fall height - 25 ) * 10
moveSpeed = 1f
swiftness += 0.25f
slow *= 0.5f
moveSpeed cap = 1.4f
acceleration
(pressing right)
if velocity.X < -0.2f (moving left)
velocity += .2f
else
velocity += .08 * movespeed
velocity.Y
vertical speed cap:
jumpSpeed * 1.5 (upward and down)
gravity = .1f towards cap
if velocity.Y< (moving up)
+= 0.5f
Zone Reference[]
These are boolean flags that are stored on a player. They are primarily used to figure out what zone the player is in, and by extension, what monsters spawn.
- Main.player[Main.playerID].zoneJungle
- Main.player[Main.playerID].zoneMeteor
- Main.player[Main.playerID].zoneDungeon
- Main.player[Main.playerID].zoneEvil
- Main.player[Main.playerID].zoneHoly
For example, if there are 50 or more meteor tiles near the player, zoneMeteor is set to true. While zoneMeteor is true, Meteor Heads will spawn and the music changes. In most cases, the condition is 50 or more of a certain tile, but in the case of dungeons, it requires a certain depth, tiles, and background tiles. *Note the desert biome requires at least 1001 tiles of sand, and has no boolean flag.*
Because these flags are not mutually exclusive, a player could be in a jungle zone and a dungeon zone at the same time. However, certain zones may take priority over others - if the player was in a jungle and dungeon at the same time, then the dungeon music would play, but both monster types would spawn.
NPC Spawning[]
There is a 1 in "Spawn rate" chance a monster will spawn every game tick. There are 60 ticks per second, so a spawn rate of 600 means a 10% chance of at least one enemy spawning per second, and a spawn rate of 100 means a 45% chance of at least one enemy spawning per second.
When the game is determining the maximum number of enemies in the area, the "Max Spawns" is used. Some enemies count towards this limit more than others. Most bats are considered half an enemy, and teleporting casters typically count as 3. Bosses count as 5. In general, large or special monsters count for more than one spawn.
D = Day N = Night BM = Blood Moon HM = HardMode
| Biome | Spawn Rate | Max Spawns | HM Spawn rate | HM Max Spawns |
|---|---|---|---|---|
| Surface D | 600 | 5 | 540 | 6 |
| Surface N | 360 | 6 | 324 | 7 |
| Surface BM | 108 | 11 | 97 | 14 |
| Underground | 300 | 8 | 243 | 10 |
| Cavern | 240 | 9 | 216 | 11 |
| The Underworld | 600 | 10 | 162 | 15 |
| Jungle D | 240 | 7 | 216 | 9 |
| Jungle N | 144 | 9 | 129 | 11 |
| Jungle BM | 60 | 15 | 60 | 15 |
| Jungle Dirt Layer | 120 | 12 | 86 | 15 |
| Jungle Stone Layer | 96 | 14 | 86 | 15 |
| Corruption D | 390 | 6 | 351 | 7 |
| Corruption N | 234 | 8 | 210 | 10 |
| Corruption BM | 70 | 15 | 63 | 15 |
| Corruption Dirt Layer | 195 | 11 | 157 | 14 |
| Corruption Stone Layer | 156 | 12 | 86 | 15 |
| Hallow D | 600 | 5 | 540 | 6 |
| Hallow N | 360 | 6 | 324 | 7 |
| Hallow BM | 108 | 11 | 97 | 14 |
| Hallow Dirt Layer | 300 | 8 | 243 | 10 |
| Hallow Stone Layer | 165 | 12 | 140 | 14 |
| Meteorite D | 240 | 5 | 216 | 6 |
| Meteorite N | 144 | 7 | 129 | 8 |
| Meteorite BM | 60 | 12 | 60 | 15 |
| Dungeon Dirt Layer | 120 | 14 | 97 | 15 |
| Dungeon Stone Layer | 96 | 15 | 86 | 15 |
| Goblin Siege | 20 | 10 + 1.5 per player | 20 | 10 + 1.5 per player |
To do:
world reference (max width, height)
layer references (space, surface, cave, underground, hell)